Battle of the Patuxent
These illustrations were produced entirely digitally using a Wacom tablet via Adobe Photoshop on a 15" MacBook Pro. They were created for the Calvert Marine Museum to help illustrate the Battle of the Patuxent which occured as several different battles along the Patuxent River between Commodore Joshua Barney and his Chesapeake Flotilla and the British Royal Navy during the War of 1812. Scroll down to see the images and more infromation.
The Battle of Cedar Point
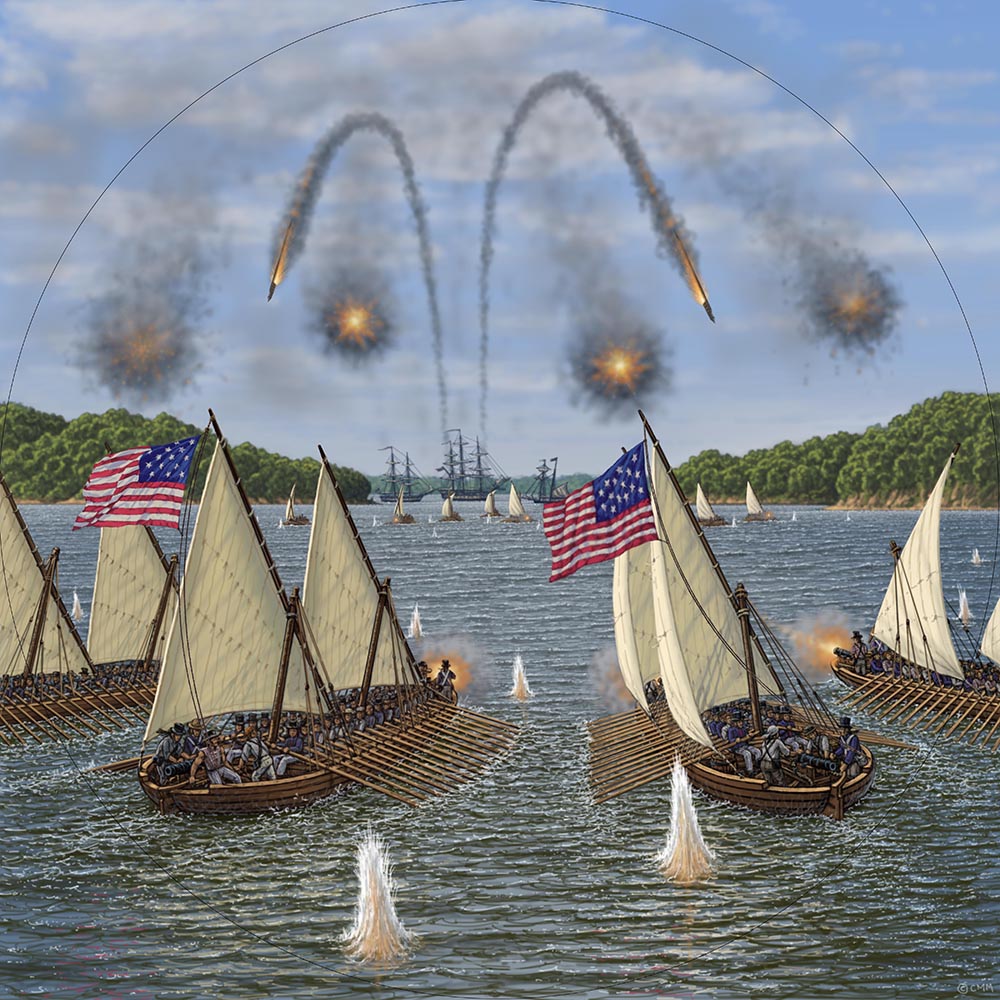
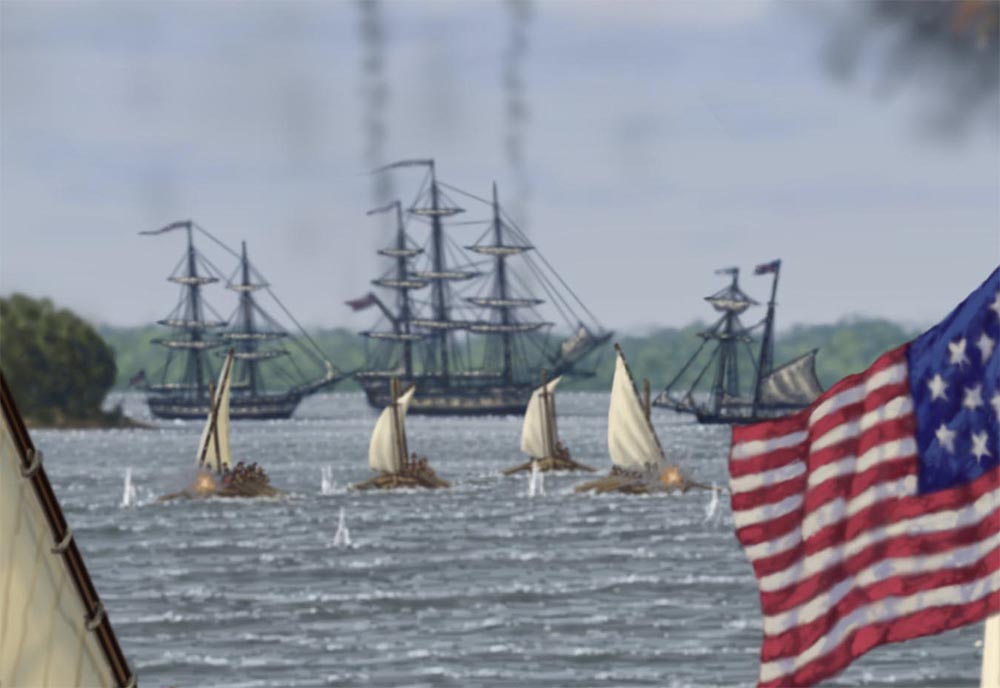
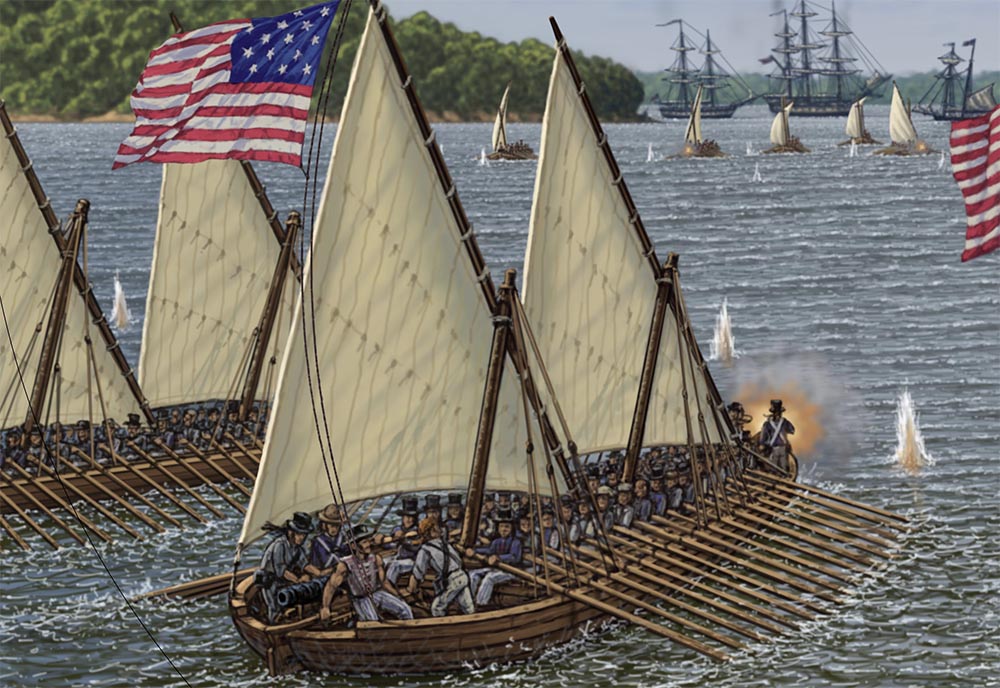
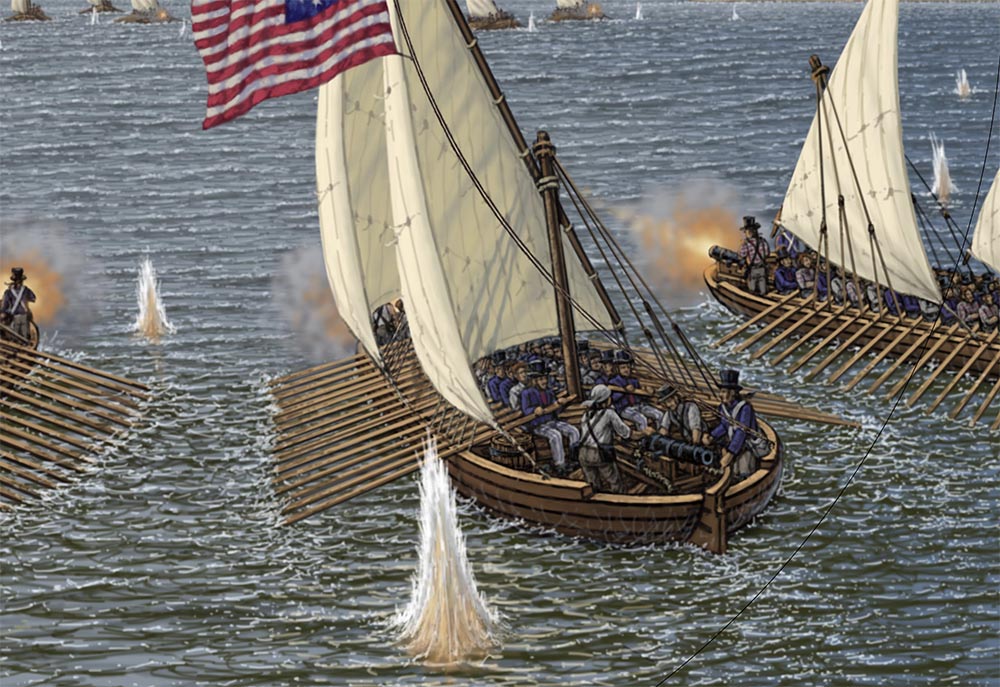
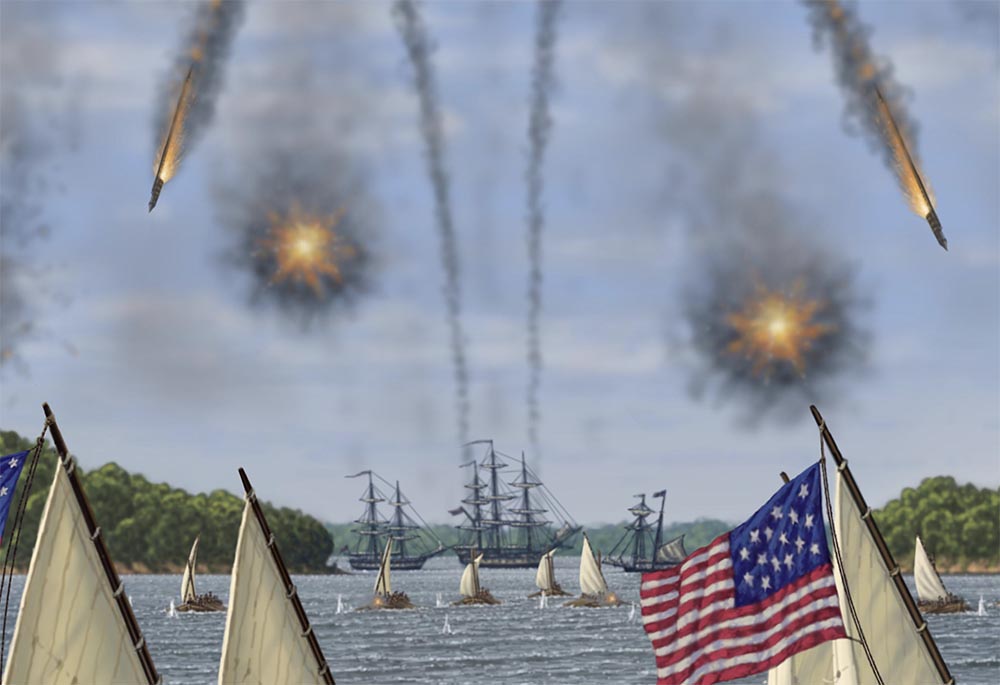
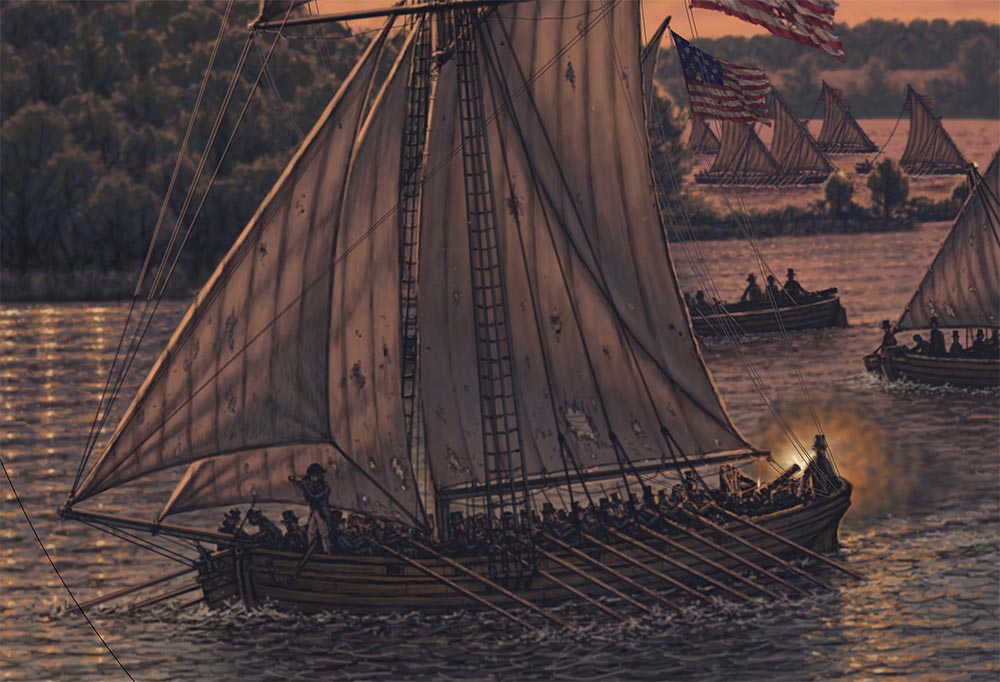
On May 24th, 1814, Joshua Barney sailed from Baltimore with his flotilla of 13 barges, two gunboats, a block sloop, row galley, look-out boat, and six merchant schooners. They were headed for Tangier Island, Virginia, where they planned to raid a British supply depot. On the way, they encountered superior British forces - a 74 gun ship-of-the-line, a 13 gun schooner, and seven barges - near the mouth of the Patuxent River. After a brief skirmish at Cedar Point, the flotilla retreated into the Patuxent and the British blockaded the mouth of the river.
First Battle of St. Leonard
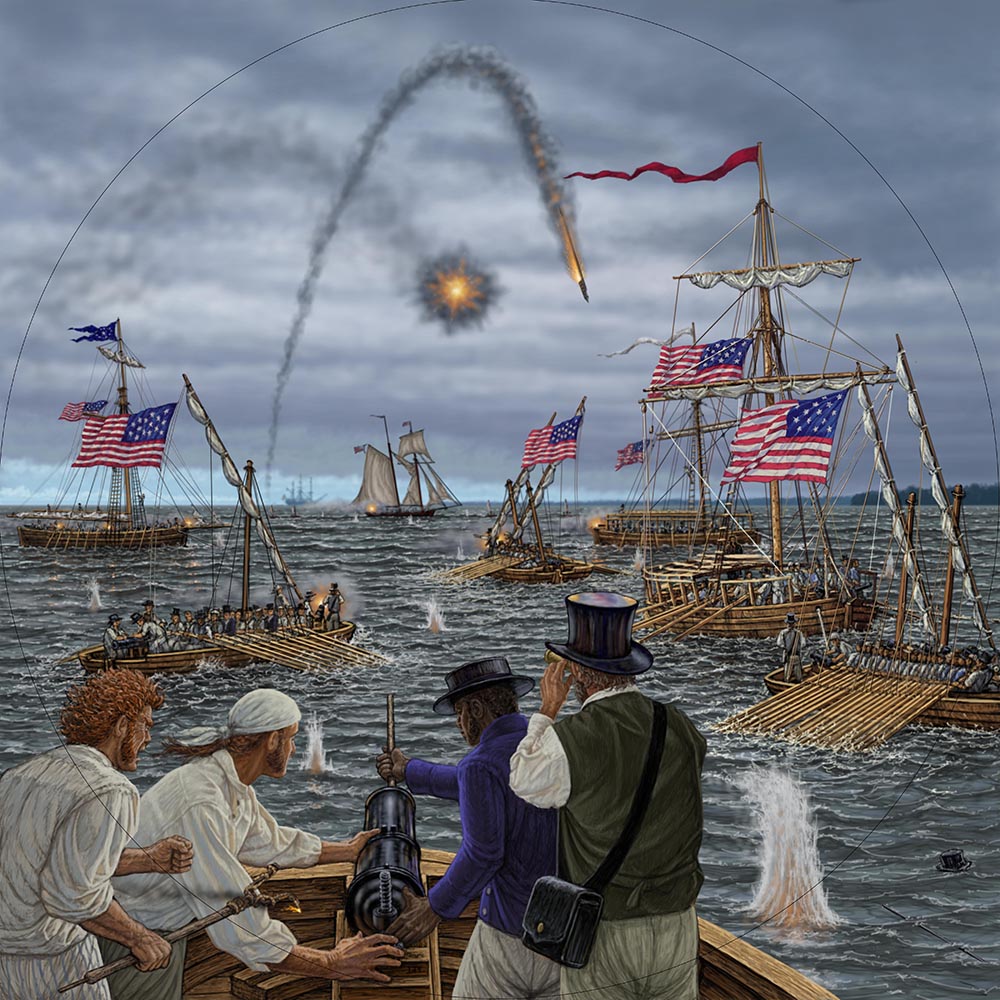
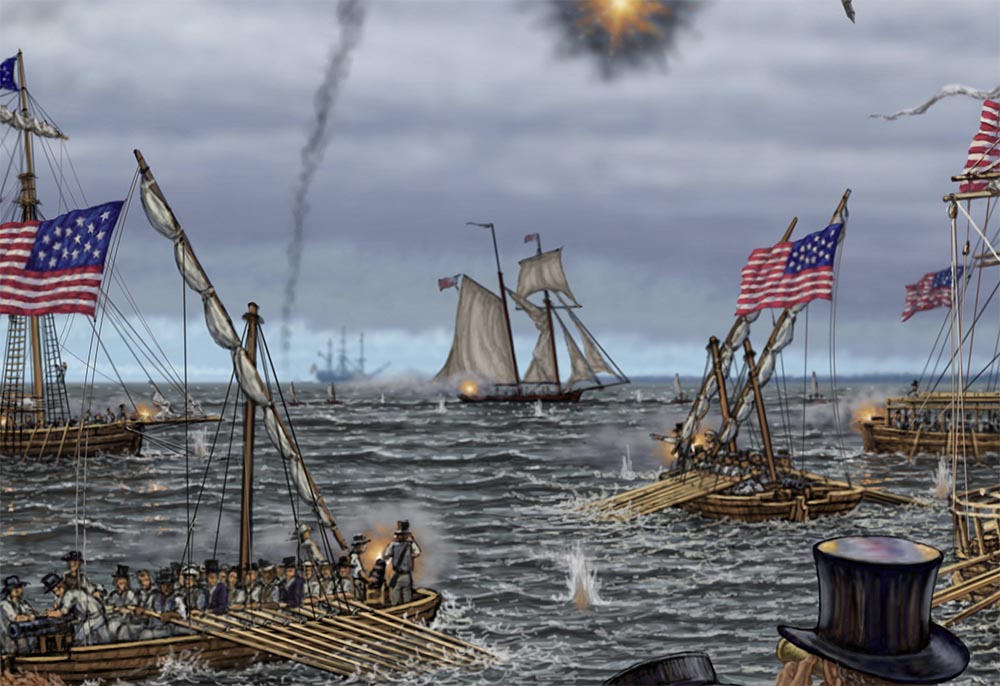
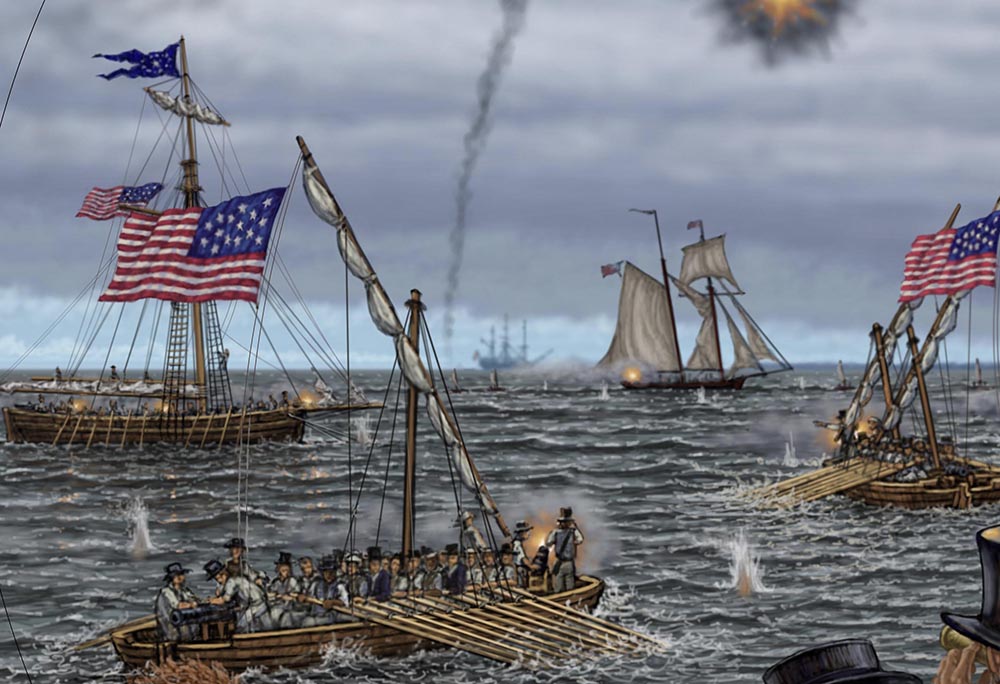
Barney and the flotilla remained behind Drum Point for a week. The British, strengthened by the arrival of reinforcements, forded the flotilla up the river and into the narrows of St. Leonard Creek.
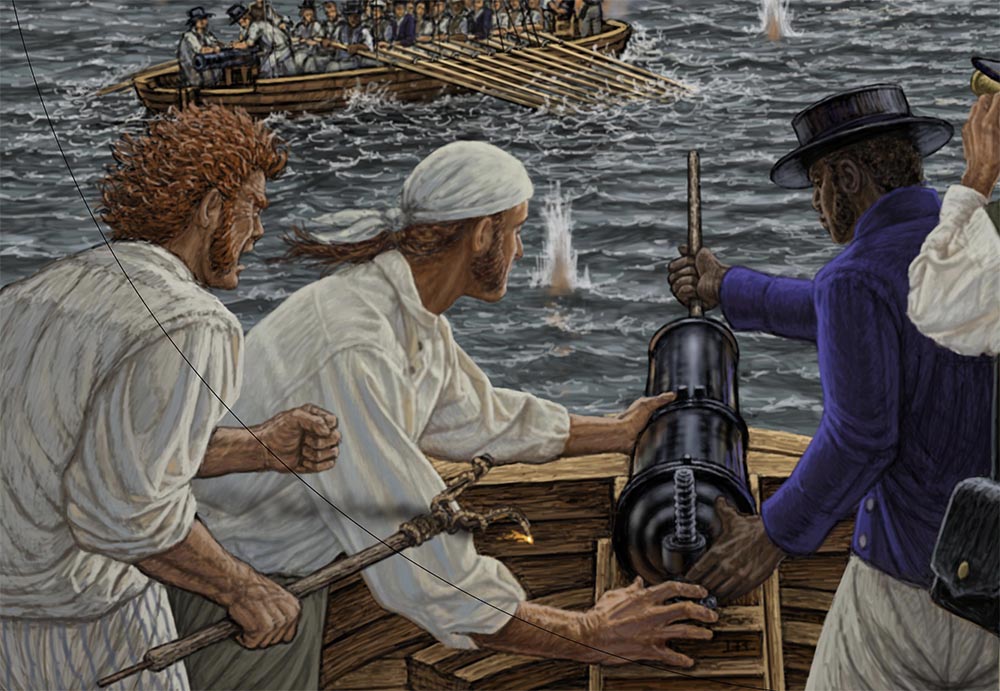
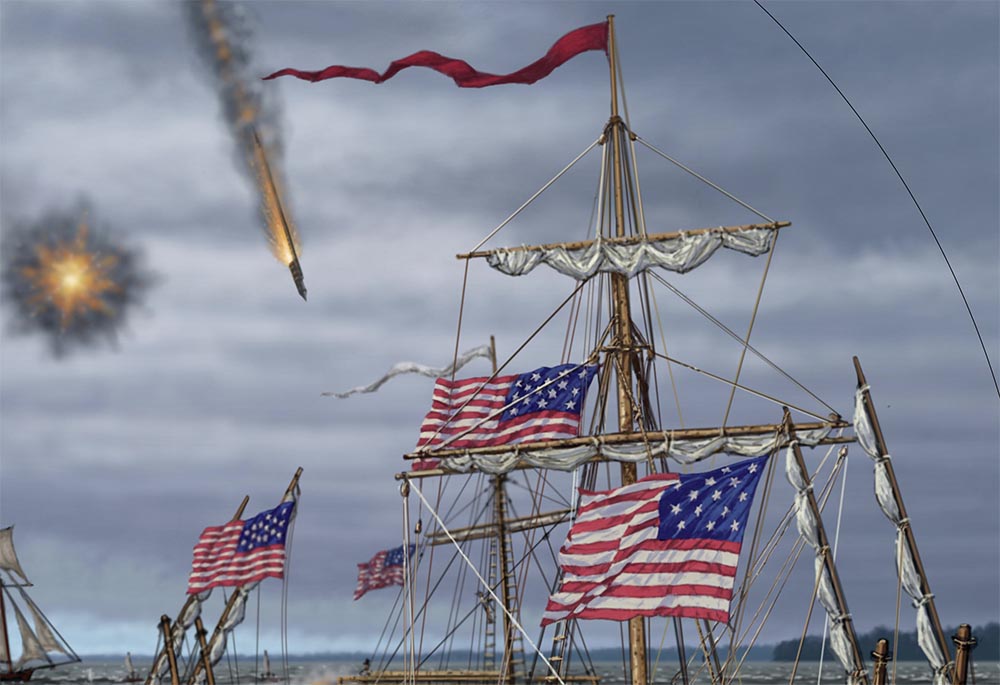
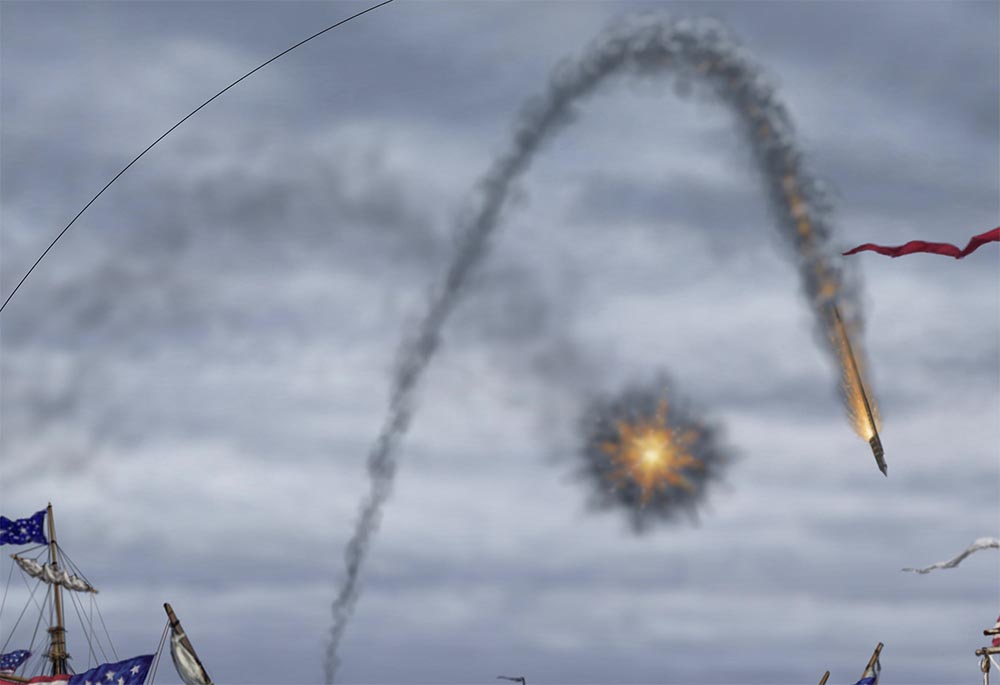
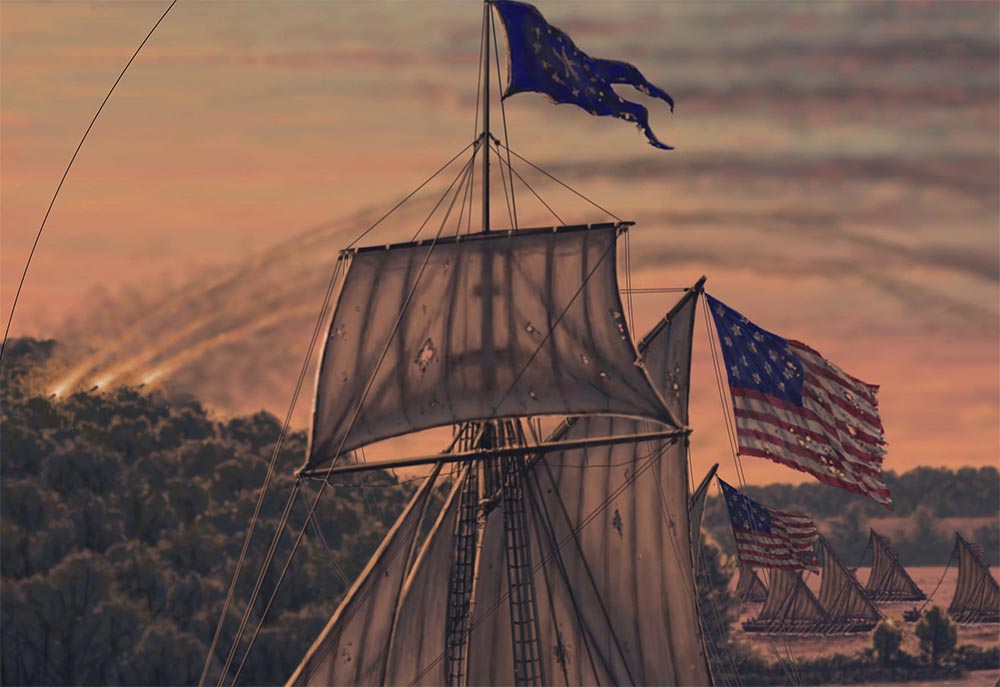
For the next three days, the Royal Navy attacked the flotilla from armed barges, schooners, and rocket boats. The Americans met and rebuffed each attack, finally forcing the British back toward the mouth of the creek. The British schooner St. :Lawrence ran aground there, and the Americans fired upon it. Other British vessels returned fire, driving the flotilla up the creek to St. Leonard Town.
Second Battle of St. Leonard
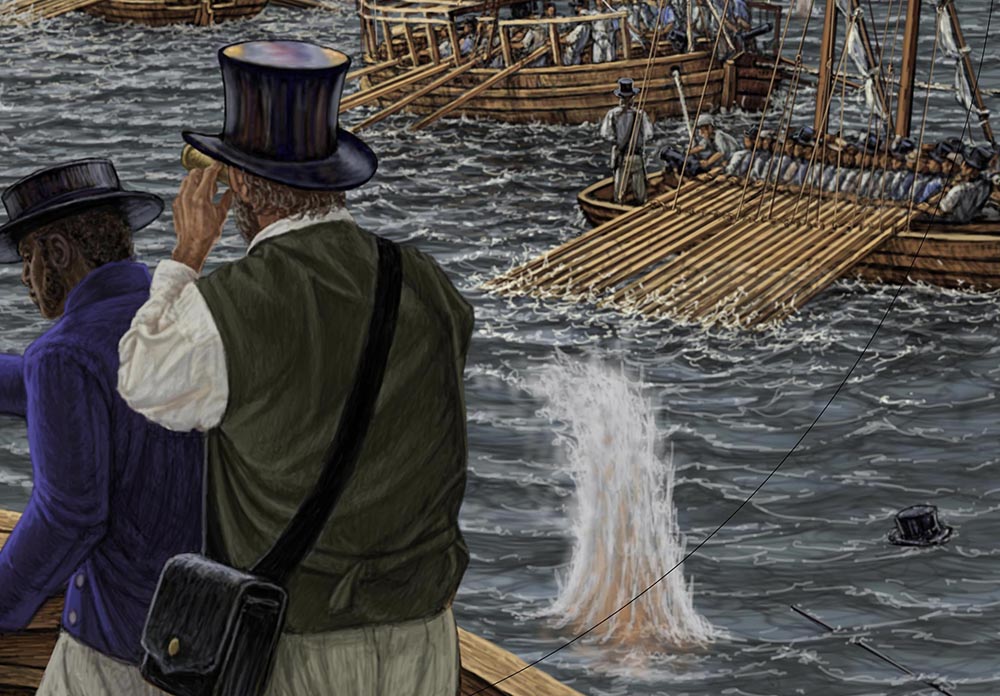
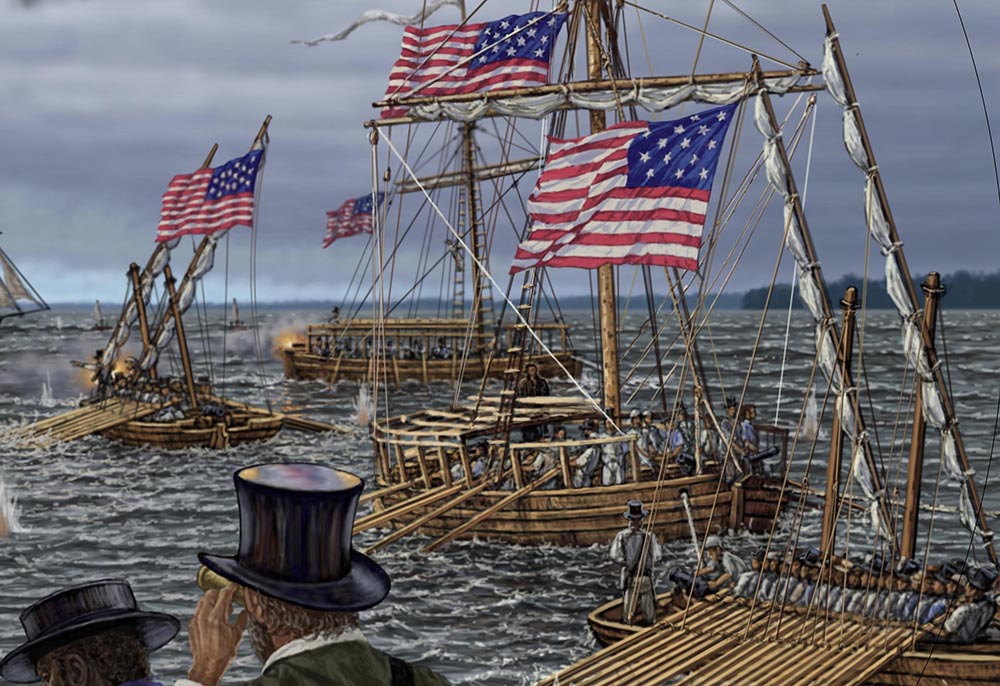
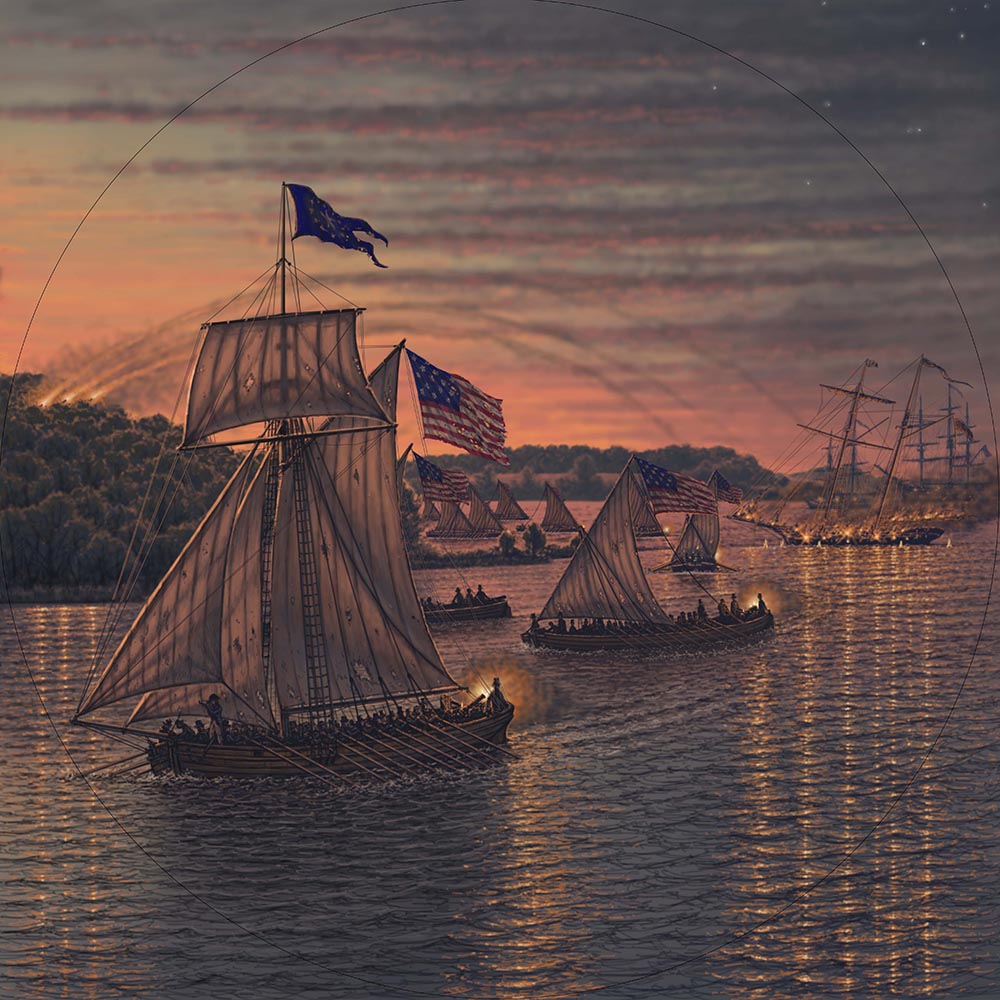
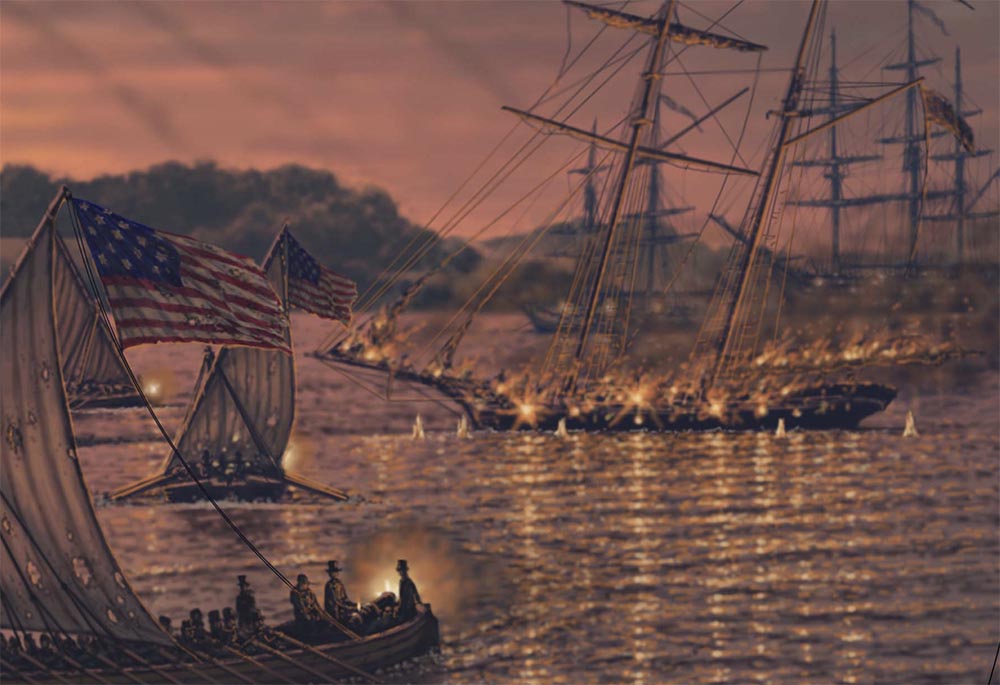
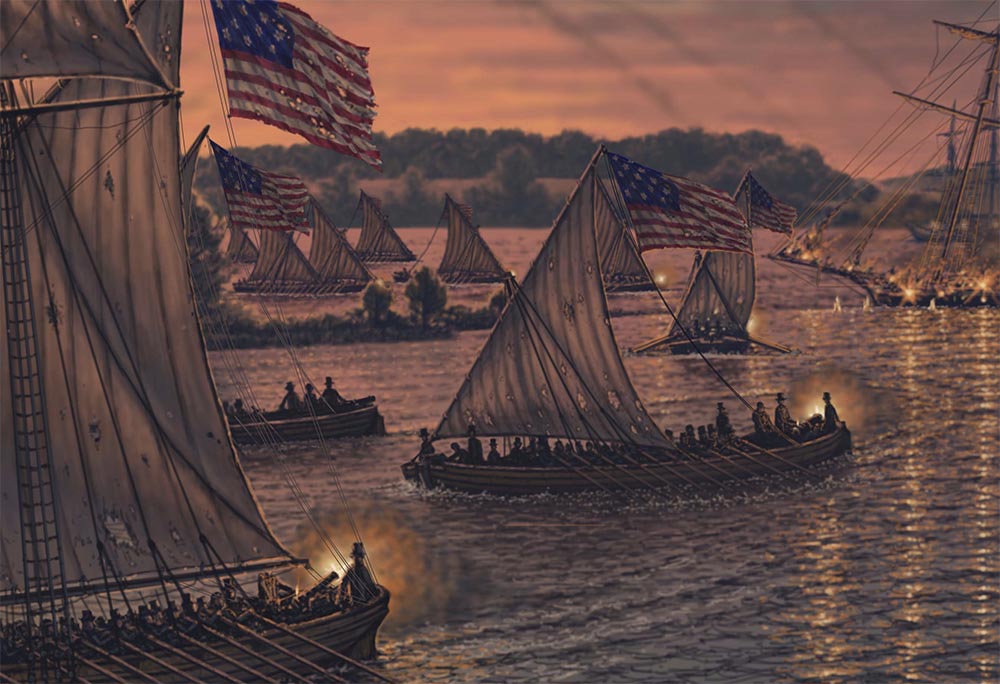
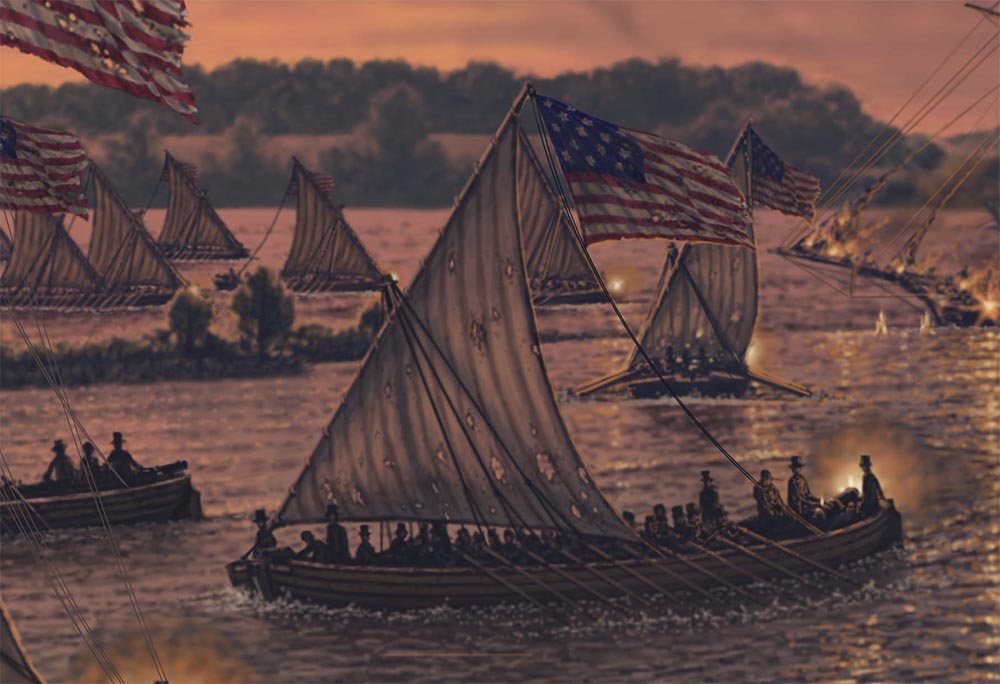
The second battle of St. Leonard Creek lasted form June 23rd to the 26th. To aid Barney and the flotilla, two hundred sixty men of the 38th Infantry began marching to St.Leonard Town from Baltimore. While the British continued the creek blockade, Barney moved down the creek from St. Leonard Town. American militia gathered on the north shore of St. Leonard Creek and assembled batteries on the bluff. In a pre-dawn surprise attack the militia opened fire on British, who returned fire on the battery site. The British fleet dropped back from the mouth of the creek during the attack, allowing the flotilla to squeeze past into the river. Dispatching two rocket boats up the east shore of the Patuxent, the British flanked the American battery on the bluff and menaced the American rear. Tha American Infantry regiments on the bluff panicked and fled, while three American barges suffered heavy damage from the bombardment by the British frigates. The battle resulted in British frigate being forced down river to Point Patience for repairs and Barney's flotilla escaping from ST. Leonard Creek up the Patuxent to Benedict.
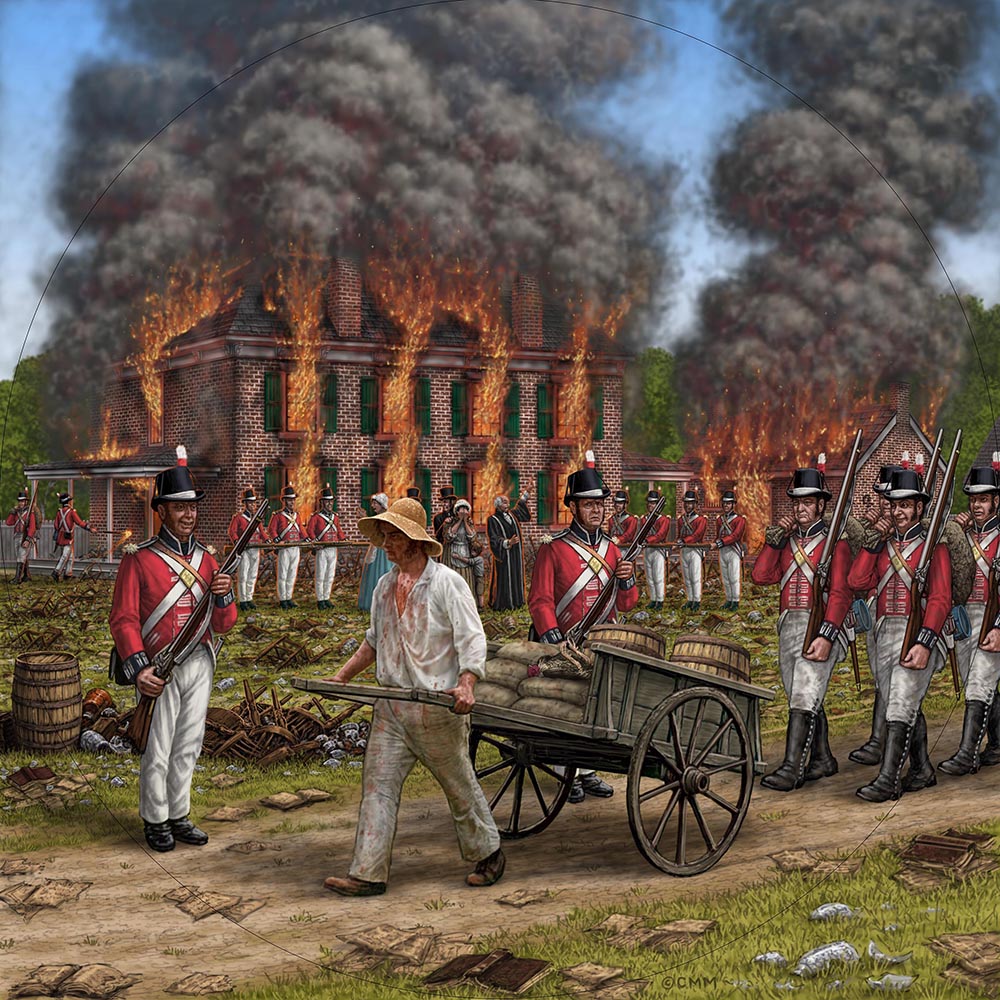
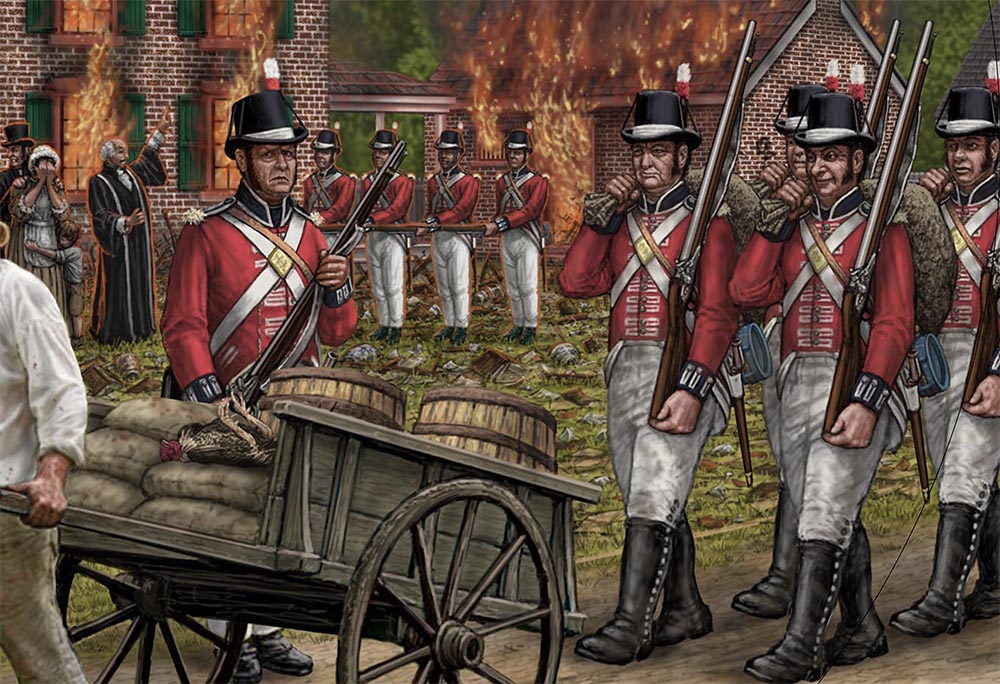
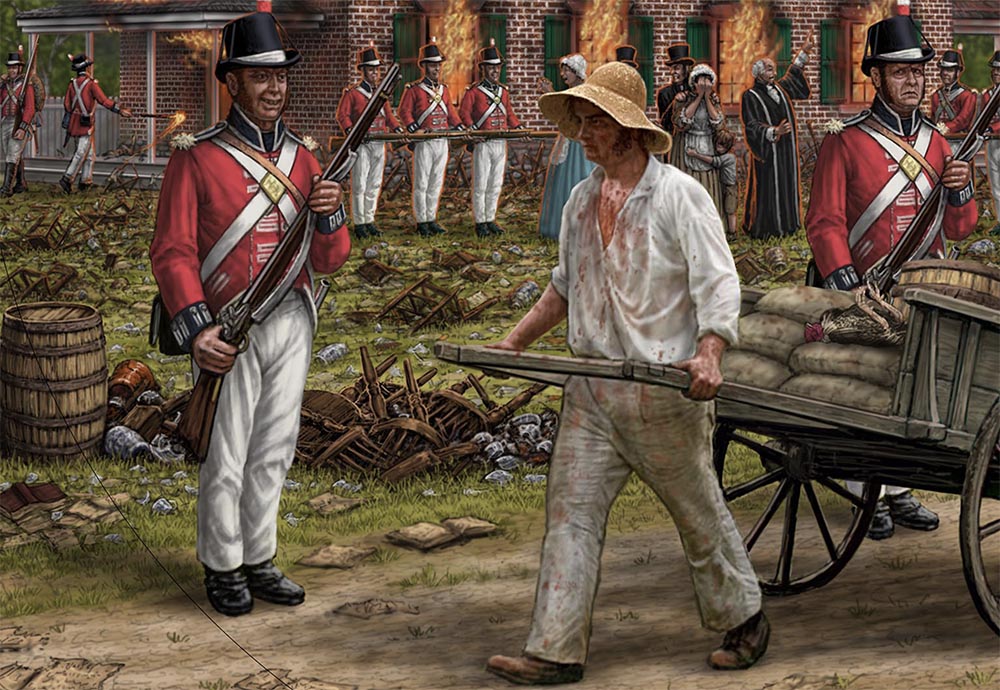
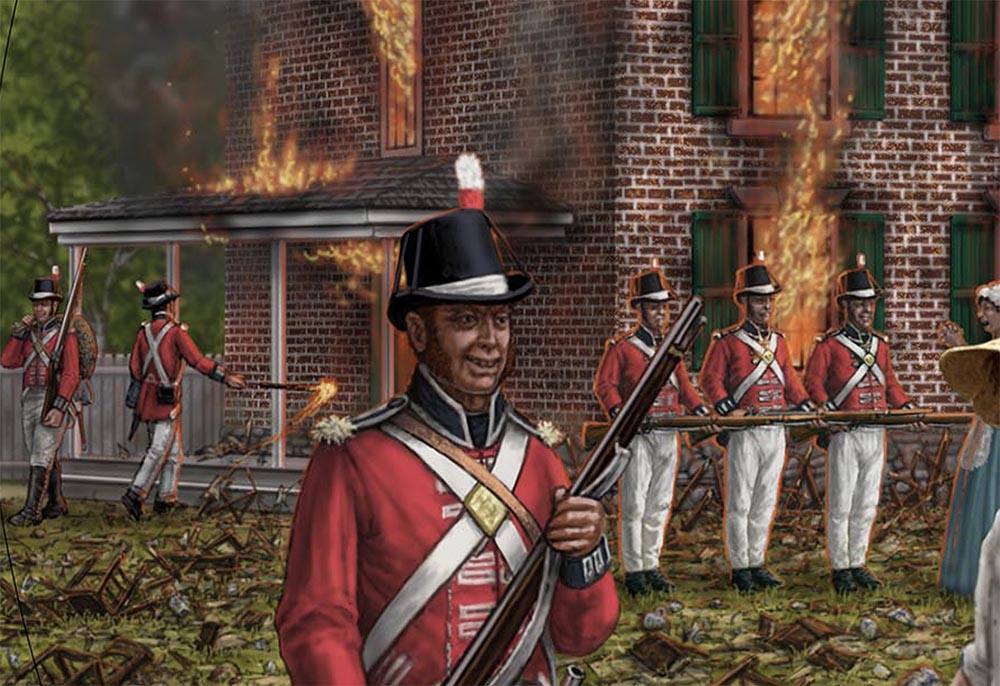
The Sacking of Prince Frederick
The British continued their raids against property along the Patuxent, burning twenty five hundred hogshead of tobacco at Lower Marlboro and plundering property at MacGruder's Landing, Cole Point, and other sites.
The flotilla moved from Benedict to a new base at Nottingham. Meanwhile, the British entered Hunting Creek in barges and landed at Huntingtown, where they burned a tobacco warehouse. Two days later they landed again and marched to Prince Frederick, burning the courthouse and jail. On the return march they destroyed God's Grace plantation.

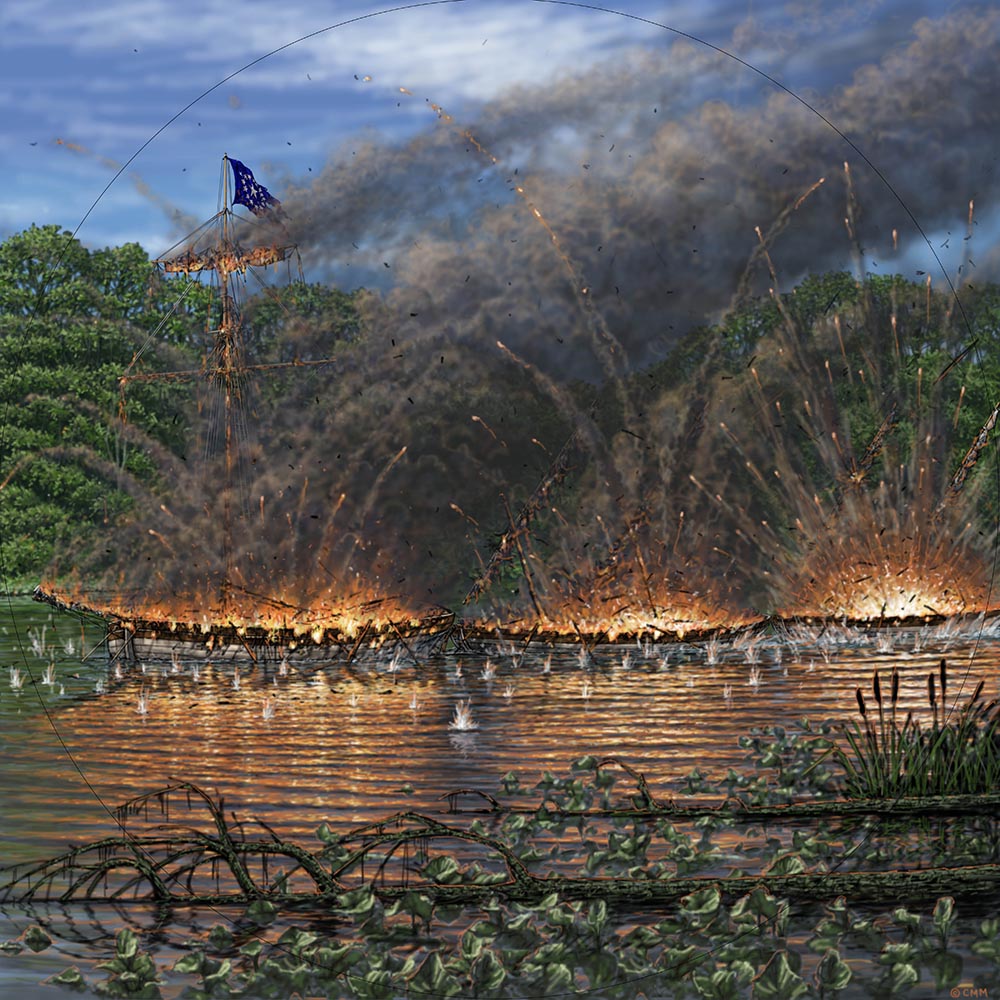
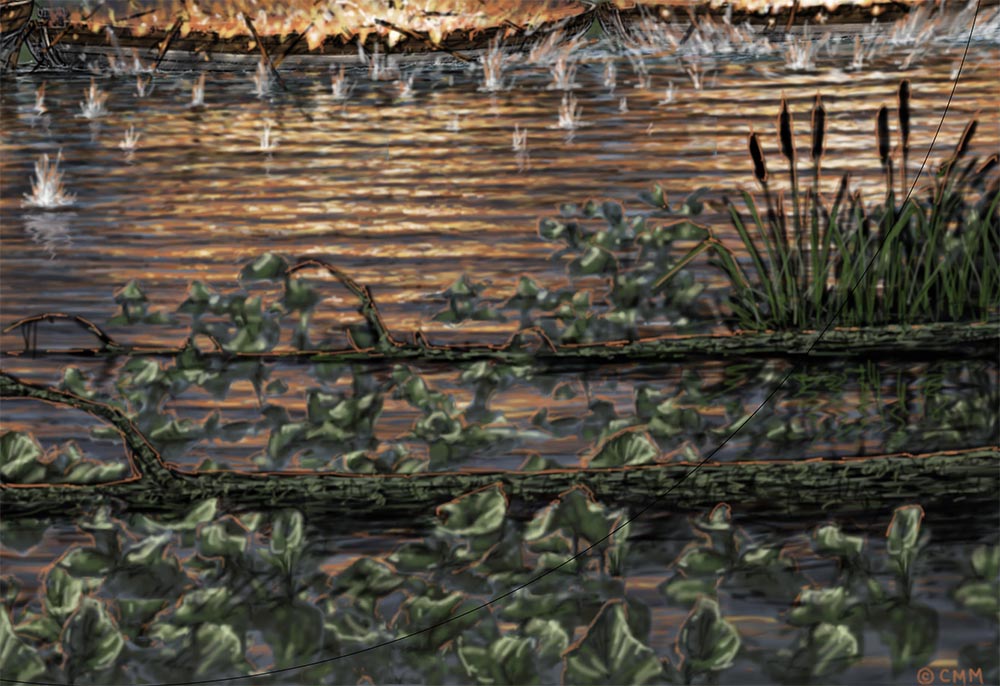
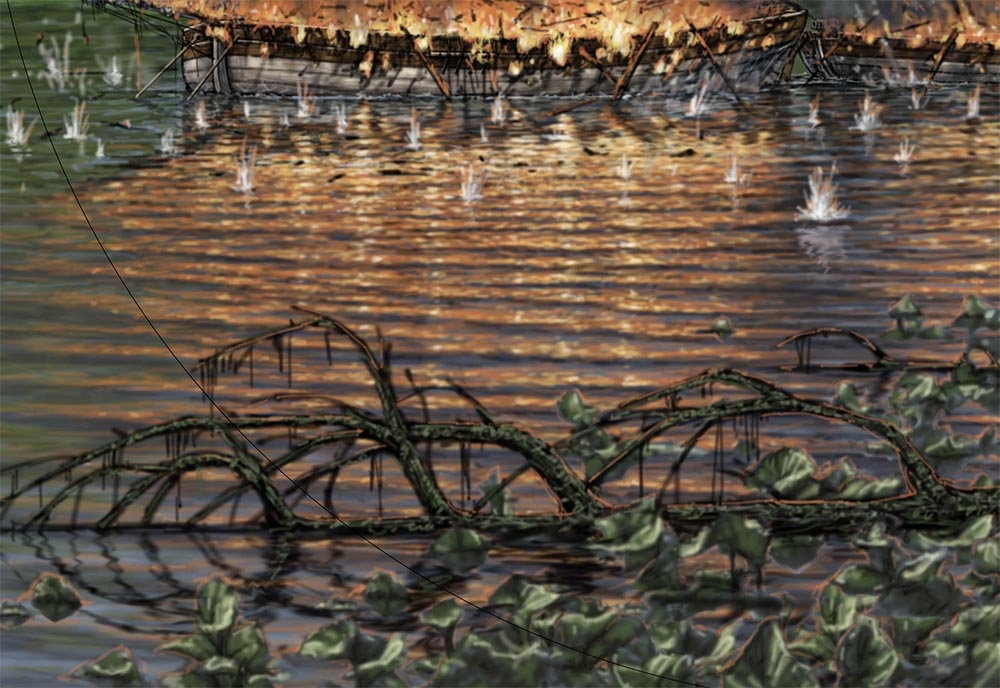
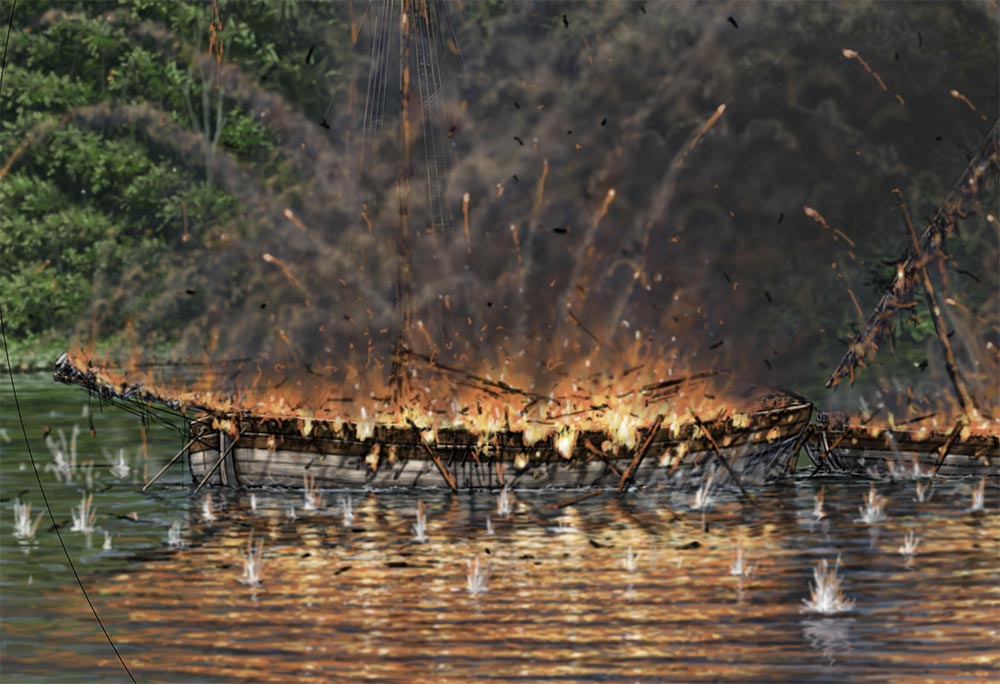
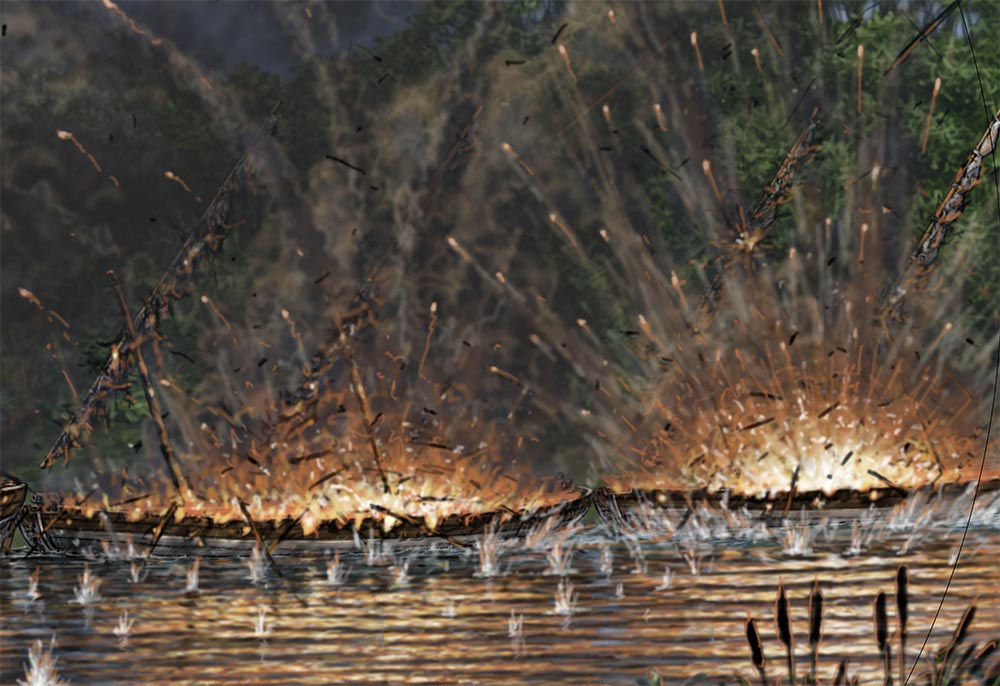
Flotilla Scuttled at Pig Point
On the 21st of August, American armies assembled around Benedict and Nottingham while the British approached from the south. Barney and the flotilla retreated to Pig Point, with orders to scuttle the fleet if attacked. The next day, the British prepared to atack. Rounding Pig Point, the saw the American flotilla exploding, having been scuttled bt Barney's men under orders. With the flotilla destroyed, the British landed and occupied Upper Marlboro.

All content on this page is original artwork created by Clarence Schumaker for Calvert Marine Museum.
© CMM, used with permission. All rights reserved.